DESIGNED BY RIDERS, FOR RIDERS
Stable Bag & Equipment Organization: Strategic Packing Plan for Training Days
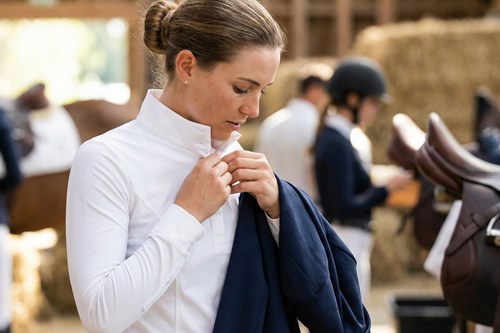
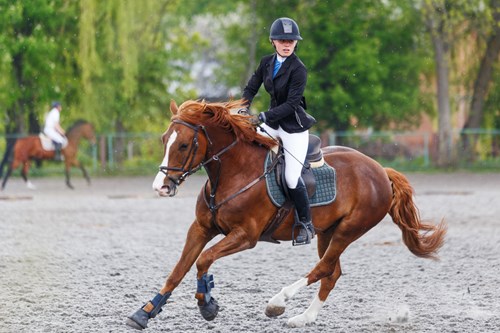
Equestrianism is not just about a 45-minute training session in the saddle; it requires serious logistical management before and after. Arriving at the stable and not finding one of your gloves, forgetting your helmet cover at home, or having to put a sweaty saddle pad next to clean clothes... These small glitches disrupt the "mental flow" you need to focus on before training and create unnecessary stress.
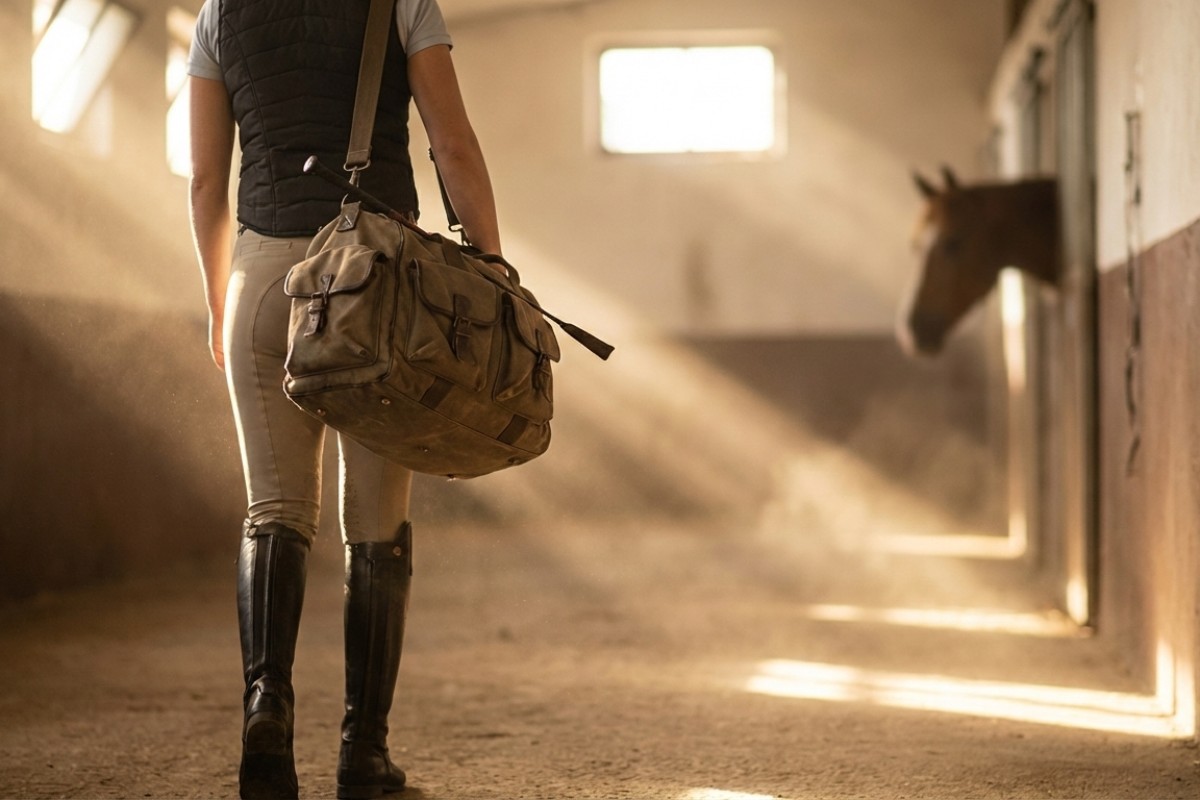
For a professional rider, the stable bag is not just a tool for carrying items, but a "mobile tack room." A well-structured equipment organization saves you time, extends the life of your gear, and allows you to enter the arena with full concentration. Whether you are heading to a competition or daily training, preparing a stylish and functional training outfit/bag is the invisible half of success.
In this guide, we examine a practical packing system in detail that speeds up your training day, ends the chaos, and ensures every piece has its designated place.
1. Bag Selection: Creating a Functional "Mobile Base"
Not every sports bag can be an equestrian bag. Riding equipment is bulky (helmet), dirty (grooming tools), hard (spurs), and delicate (leather goods). Therefore, the bag you choose must have the following features:
- Hard Bottom and Upright Stance: When you put the bag on the ground, it should not tip over, and you should be able to see inside easily. Stable floors are usually dusty; a hard bottom protects your equipment from moisture coming from the ground.
- Multi-Compartment System: Keeping your helmet and horse care sprays in the same compartment is a major risk. A spray cap opening accidentally can damage your expensive helmet.
- Air Channels: It is critical for the bag to have breathable mesh details to prevent damp gloves or sweaty t-shirts from causing odors.
2. Strategic Packing Plan: "First In, Last Out"
The golden rule when preparing a training bag is: The things you will need first when you get to the stable should be at the top or in the most accessible pocket; things needed after training or in emergencies should be deeper. Here is the layer-by-layer packing strategy:
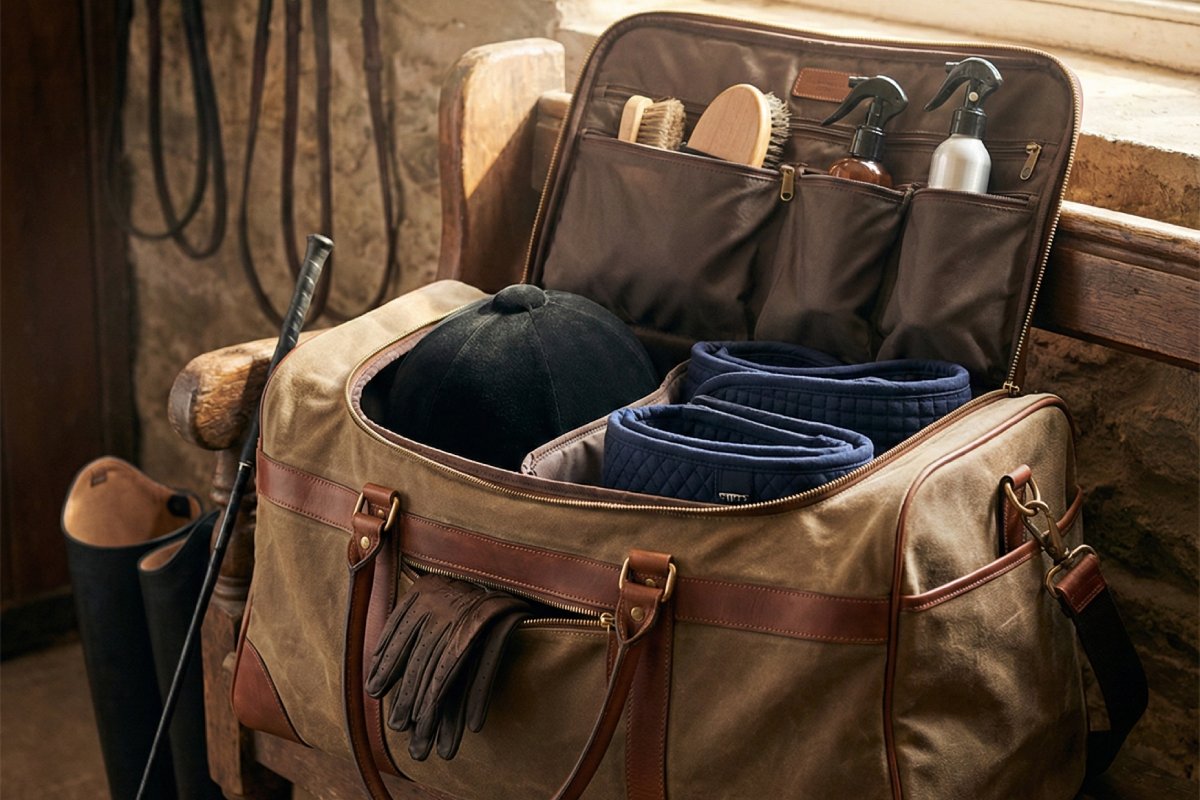
Zone 1: Main Compartment (Textiles and Bulky Items)
The widest part of the bag should be reserved for textile products and the helmet.
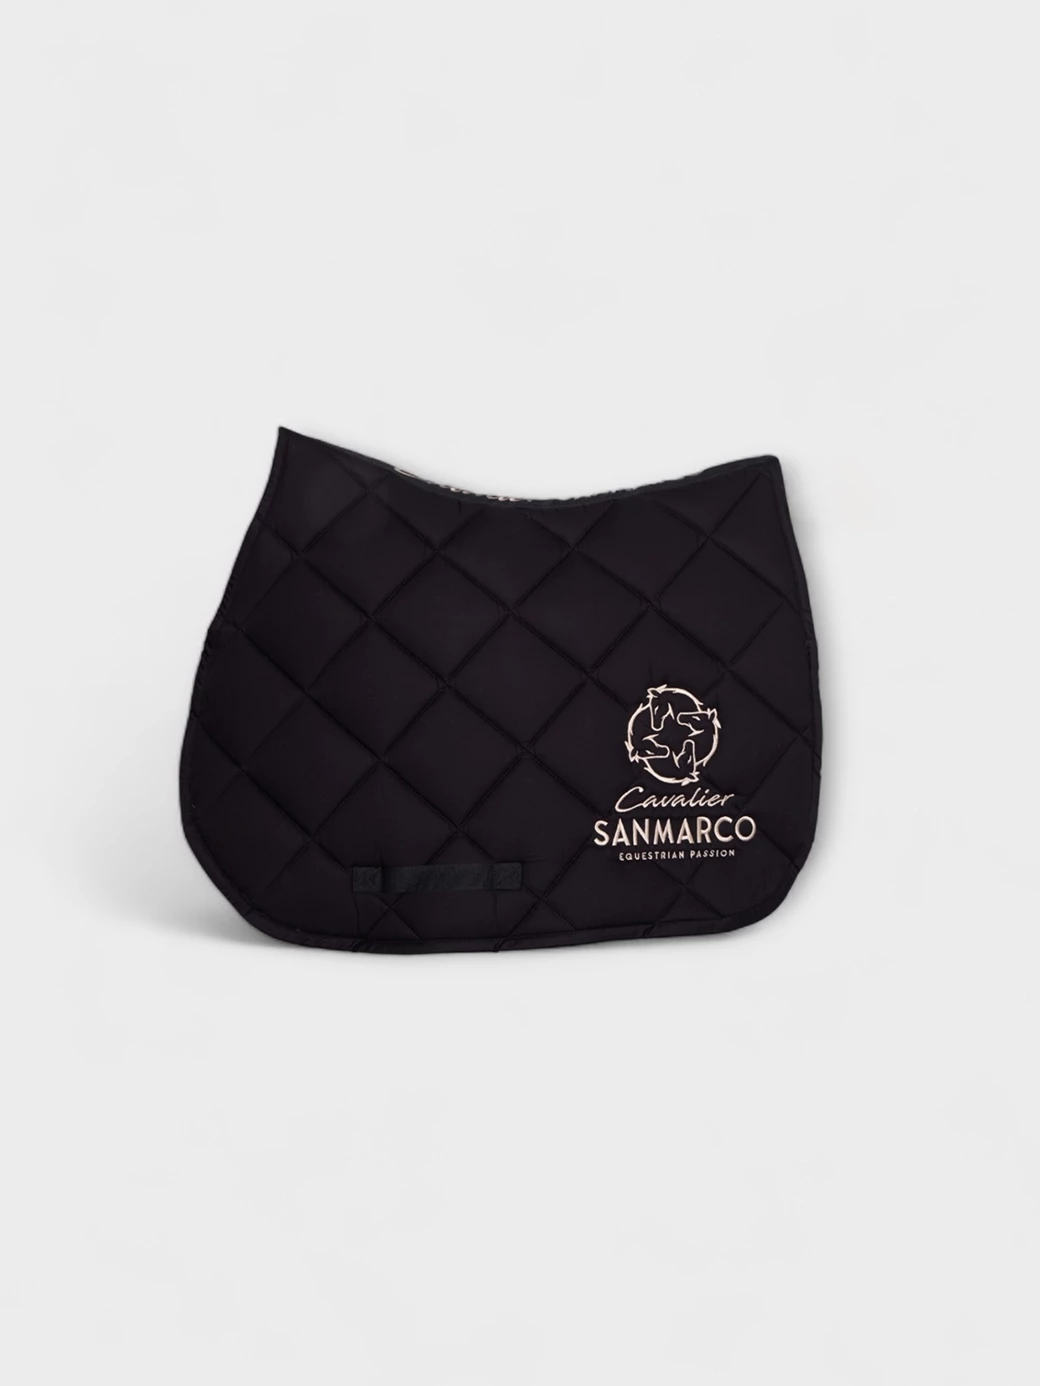
- Base Layer: Spare saddle pad, clean towel, or spare clothes to wear after training. These provide soft cushioning at the bottom and protect your helmet from impacts.
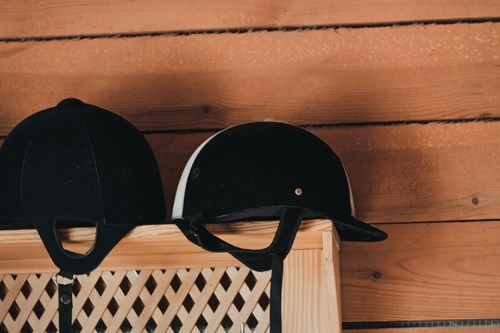
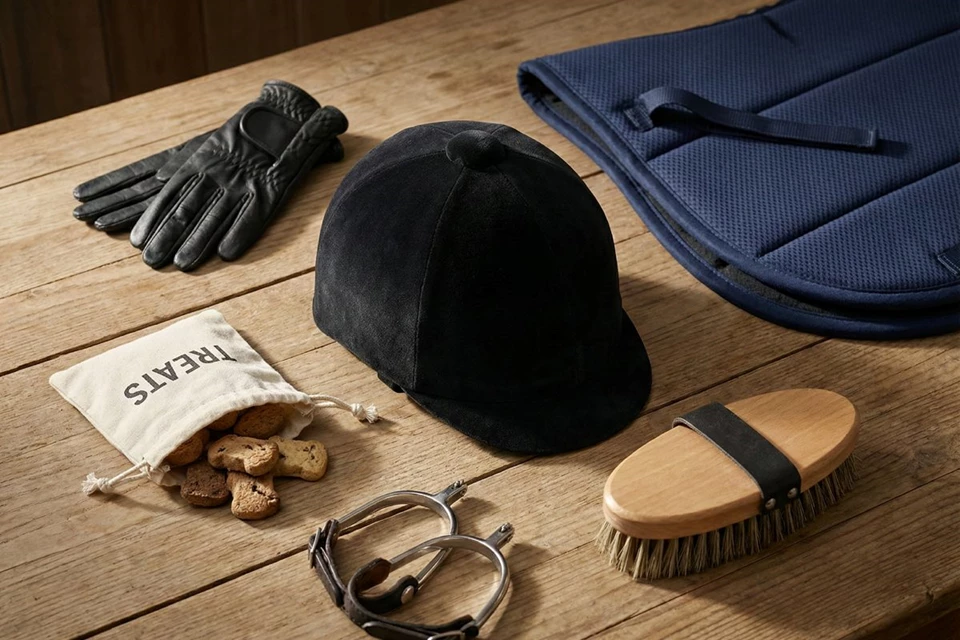
- Helmet Position: The helmet is the most delicate part of the bag. It should be positioned in its cover, resting on the textiles at the bottom, with the visor facing up (to avoid crushing).
- Protective Vest: If you use one, you can save space by placing it wrapped around the helmet.
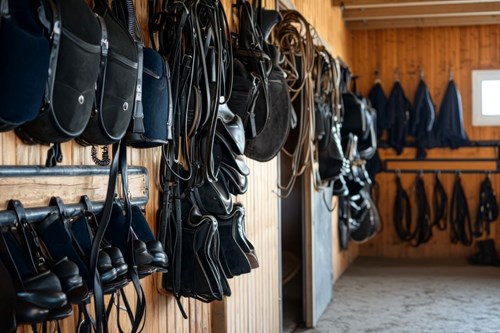
Zone 2: Side Pockets (Care and Chemicals)
Horse care products should never come into contact with textile products.
- Liquid Group: Grooming sprays, fly repellents, and leather care oils should be placed upright in side pockets or elasticated compartments. Ensure bottle caps are tight.
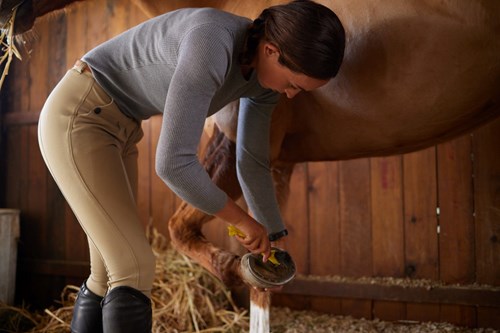
- Brushes and Grooming: If you do not have a separate grooming bag, definitely keep your brushes in a separate cloth bag inside the main bag. Otherwise, horse hair will stick to all your clothes.
Zone 3: Front and Inner Zippered Pockets (Personal and Small Items)
This is the most critical point of the practical packing plan. Small items prone to getting lost are kept here.
- Gloves: Should always be in the easiest-to-reach front pocket.
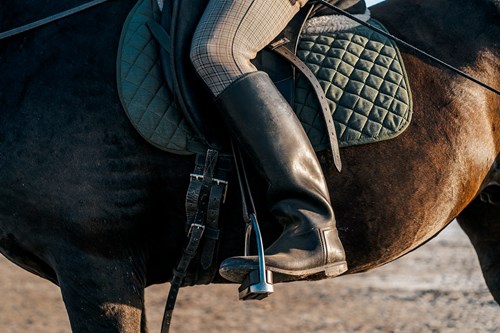
- Spurs and Straps: Metal spurs should be kept in a separate small pocket to prevent them from damaging leather equipment (saddle or boots).
Personal Care: Sunscreen, lip balm, hair ties, and keys should be stored in zippered inner mesh pockets.
3. Wet-Dry and Dirty-Clean Separation
When training ends, you are left with a sweaty base layer, muddy boots, and a damp saddle pad. Putting these back into a clean bag invites bacteria and odors.
- Laundry Bag: Always keep a waterproof, drawstring "dirty bag" in your stable bag. Throw your sweaty base layer and socks directly into this bag.
- Boot Management: If you carry your boots in the same bag, definitely use a separate "boot bag" or compartment. Mud and manure from boot soles contaminating your helmet is a huge hygiene risk.
4. Life-Saving "SOS Kit"
Those small items that must be in a professional riding checklist, making you say "I wish I had them with me":
- Spare Hair Tie and Hairnet: Loose hair under the helmet disrupts concentration.
- Sugar or Treats: A few pieces in a ziplock bag to reward your horse when they do a good job.
- Band-Aids and Painkillers: A tiny first aid kit for minor accidents or blisters.
- Spare Spur Strap: The part most likely to break and interrupt training.
- Wet Wipes: To wipe off boot dust or clean hands.
Equestrian Bag Checklist (Quick Check)
A quick list to glance at before leaving the house or leaving the stable:
- Helmet (Is it in its cover?)
- Gloves (Are both there?)
- Boots/Chaps (Are they clean?)
- Whip (Usually forgotten in the car or locker)
- Spurs
- Spare Saddle Pad (If necessary)
- Water Bottle (Hydration should not be neglected)
- Sugar/Treats
- Phone and Charger Cable
Remember, an organized bag reflects an organized mind. Knowing that your equipment is always ready for use, clean, and in its place gives you the luxury of focusing only on your horse and performance. To complete your style with both your stance in the arena and your professionalism behind the scenes, you can browse our complete outfit guide pages and complete the missing items in your bag.
Be prepared, stay in the flow.